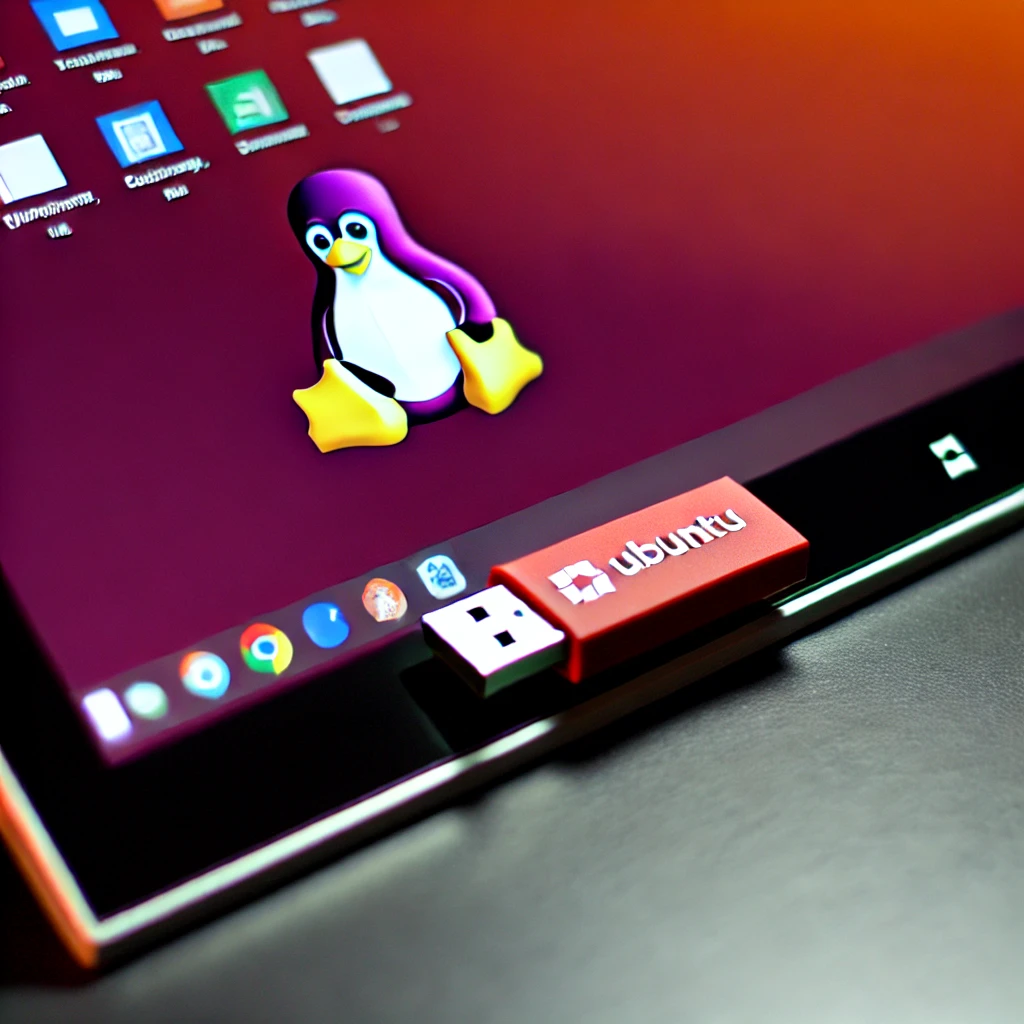
The versatility of using a USB stick to run an operating system, particularly Ubuntu, is immensely beneficial. This guide will walk you through the process I used with Rufus to create a bootable USB stick for Ubuntu and booting it on my Surface Pro running Microsoft Windows 10.
Why Use Ubuntu on a USB Stick?
Using Ubuntu on a USB stick has several advantages:
- Portability: Carry your OS and files with you anywhere.
- Security: Work in a secure, isolated environment.
- Testing: Try Ubuntu without installing it on your hard drive.
- Recovery: Use it as a rescue disk to troubleshoot problems on other systems.
What You Need
Before starting, ensure you have the following:
- A Surface Pro device
- A USB stick with at least 8GB of storage
- Rufus software
- Ubuntu ISO file (download from the official Ubuntu website)
Preparing Your USB Stick with Rufus
Step 1: Download Rufus
- Visit the Rufus website and download the latest version of the software.
- Install Rufus on your Surface Pro.
Step 2: Download the Ubuntu ISO
- Go to the Ubuntu website.
- Download the latest LTS (Long Term Support) version of the Ubuntu ISO file.
Step 3: Create a Bootable USB Stick
- Insert your USB stick into the Surface Pro.
- Open Rufus. It should automatically detect your USB stick.
- In the Rufus window:
- Device: Select your USB stick.
- Boot selection: Click ‘SELECT’ and navigate to the location where you downloaded the Ubuntu ISO file.
- Partition scheme: Choose ‘GPT’ for UEFI.
- File system: Ensure it is set to ‘FAT32’.
- Click ‘START’. Rufus will warn you that all data on the USB stick will be destroyed. Confirm to proceed.
- Rufus will create the bootable USB stick. This process may take a few minutes.
Booting Ubuntu from USB on Surface Pro
Step 1: Access the UEFI Settings
- Turn off your Surface Pro.
- Press and hold the Volume Up button, then press the Power button.
- Release both buttons once the Surface logo appears. This will take you to the UEFI settings.
Step 2: Configure Boot Order
- In the UEFI menu, navigate to the Boot Configuration.
- Set the USB storage to be the first boot device.
- Save the changes and exit the UEFI settings. Your Surface Pro will restart.
Step 3: Boot from USB
- With the USB stick still inserted, restart your Surface Pro.
- The device should now boot from the USB stick and load the Ubuntu installation menu.
Installing or Trying Ubuntu
Upon booting from the USB, you will be presented with options:
- Try Ubuntu without installing: This allows you to use Ubuntu directly from the USB stick without making any changes to your Surface Pro.
- Install Ubuntu: This option allows you to install Ubuntu on your Surface Pro’s hard drive. Be careful, as this will overwrite your existing operating system and data.
If you choose to try Ubuntu, you can explore its features, browse the web, and test its compatibility with your Surface Pro. If everything works well and you decide to install it permanently, follow the on-screen instructions to complete the installation.
Tips and Troubleshooting
- Compatibility: Some Surface Pro models may have compatibility issues with Ubuntu. Ensure you check online forums for any specific tips for your model.
- Wi-Fi Issues: Surface Pro devices may have Wi-Fi issues when running Ubuntu. Ensure you have access to an Ethernet connection or USB Wi-Fi adapter.
- Updating Drivers: Post-installation, update all drivers and firmware for Ubuntu to ensure the best performance.
Discover more from Kango Anywhere
Subscribe to get the latest posts sent to your email.